Home
About
Archive
Cast & Crew
Performances
Brighton & Hove Arts Council : Full-Length Drama Competition
Southwick Community Association : One-Act Drama Festival
Auditions
Barn Theatre
Future Plays
Membership & Contact
Home
About
Archive
Cast & Crew
Performances
Brighton & Hove Arts Council : Full-Length Drama Competition
Southwick Community Association : One-Act Drama Festival
Auditions
Barn Theatre
Future Plays
Membership & Contact
wicktheatre
>
Archive
>
Performances
>
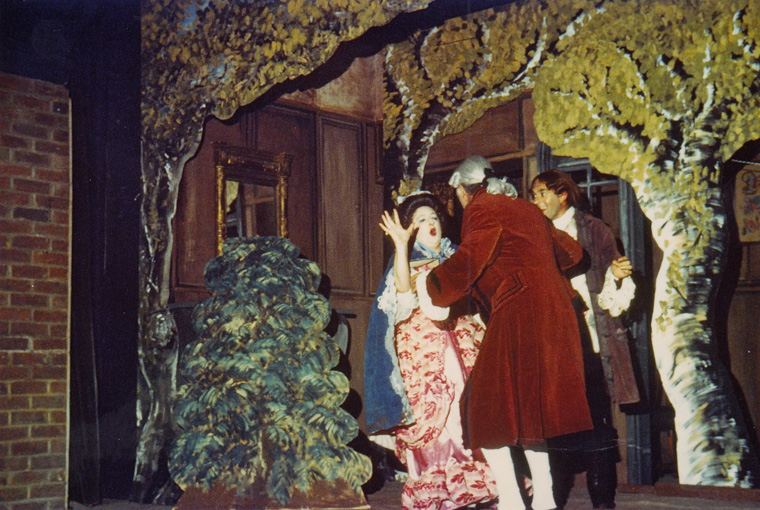
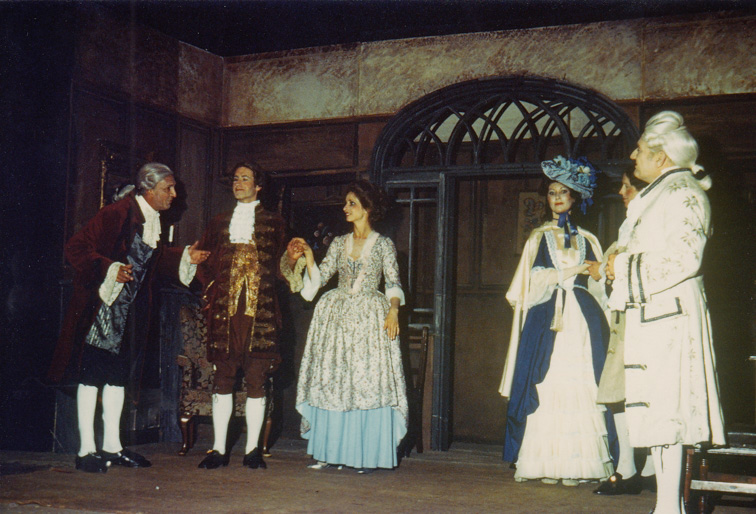
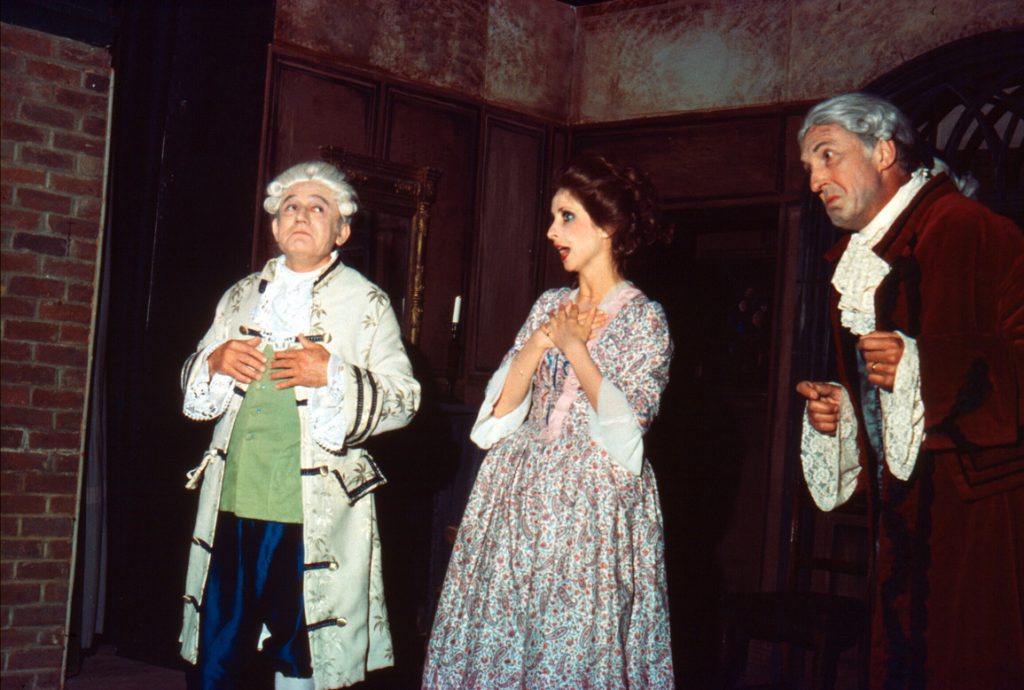
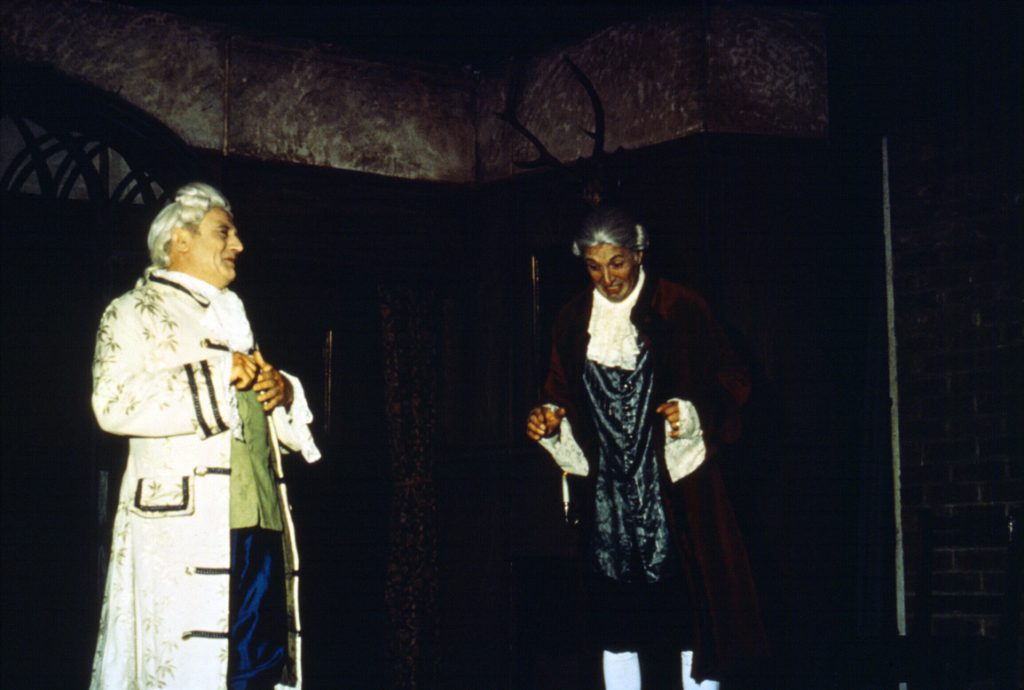
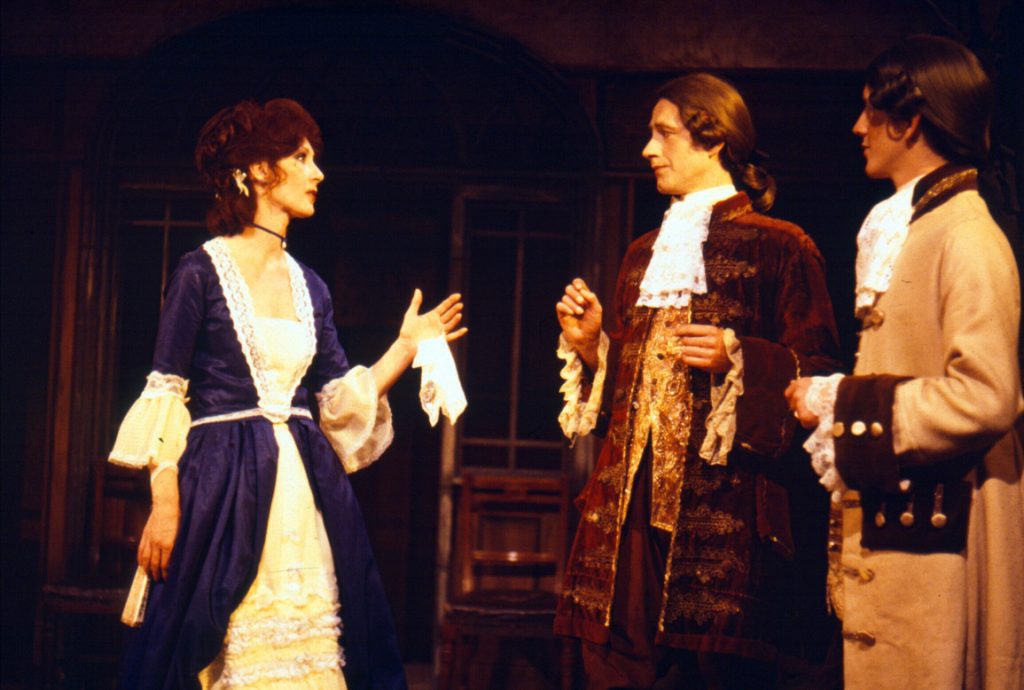
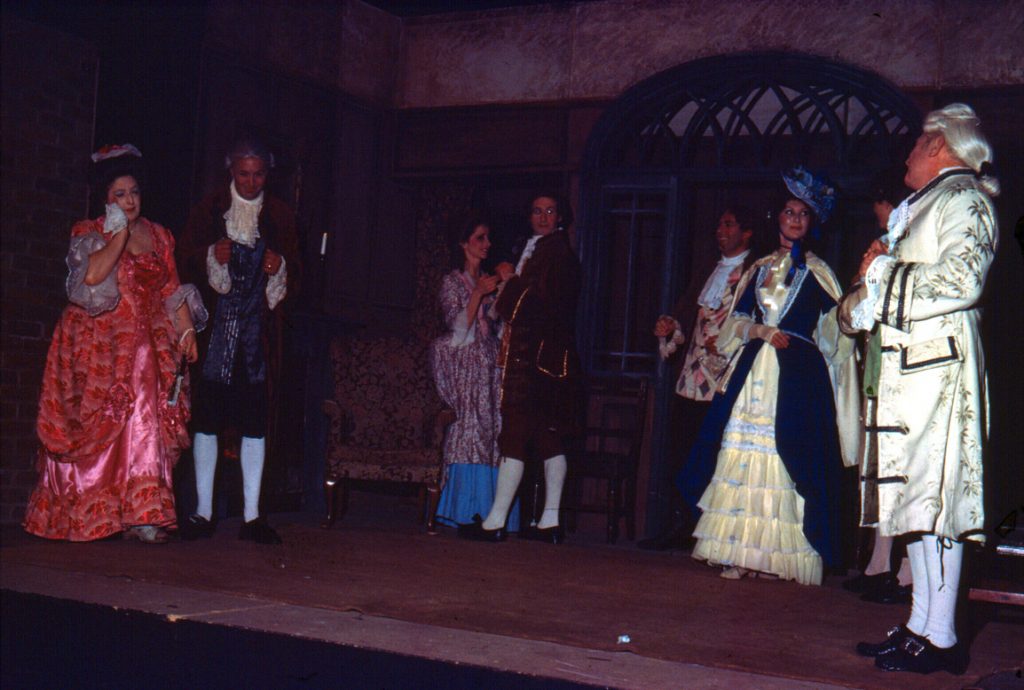
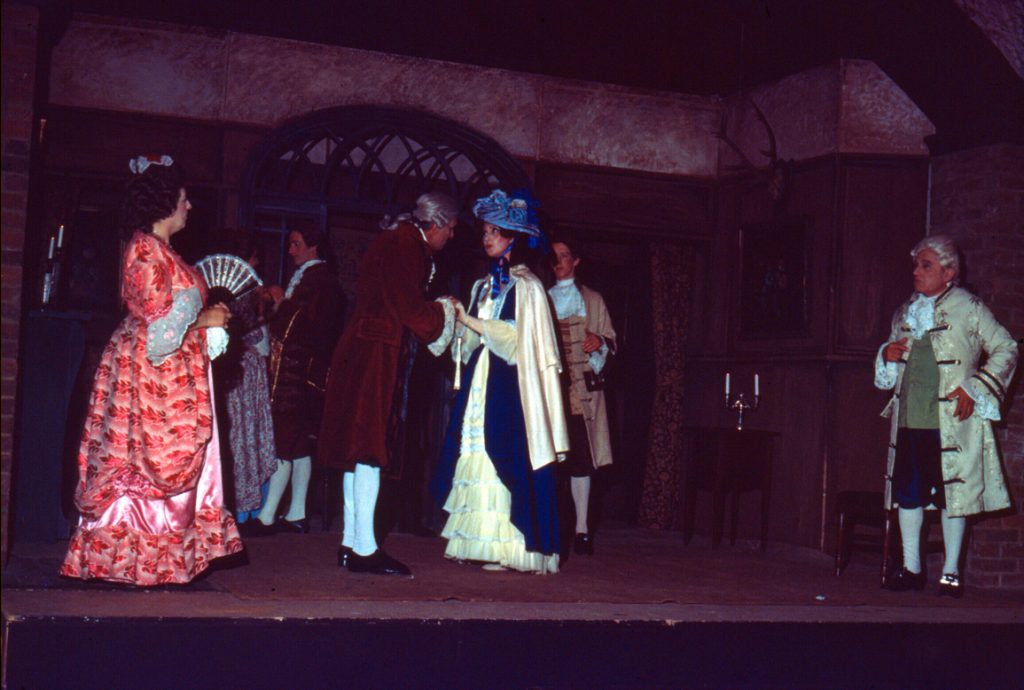
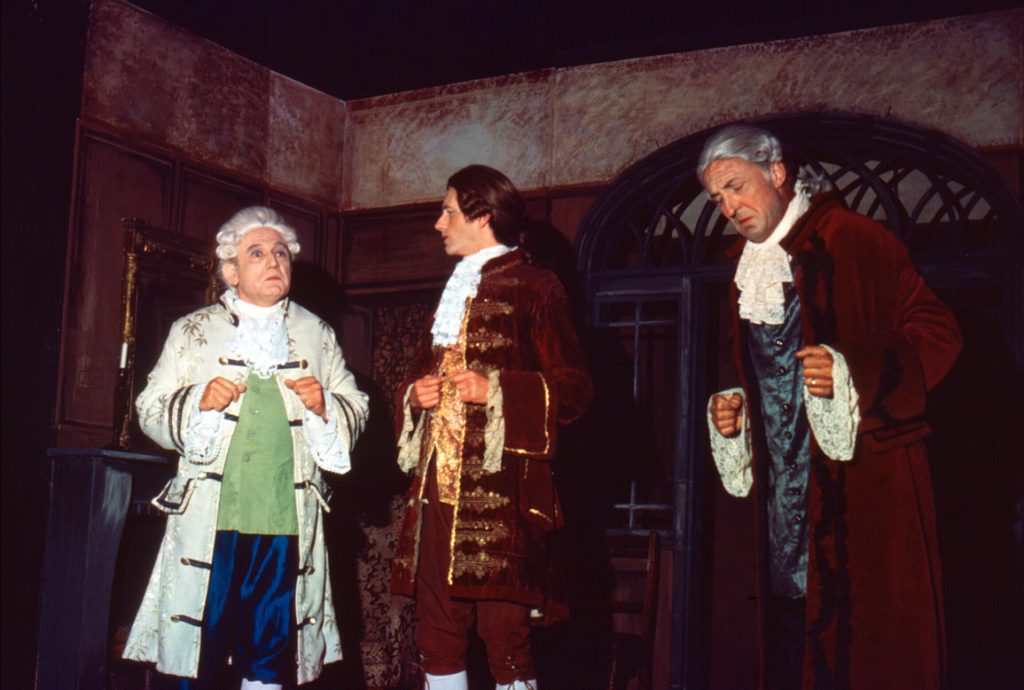
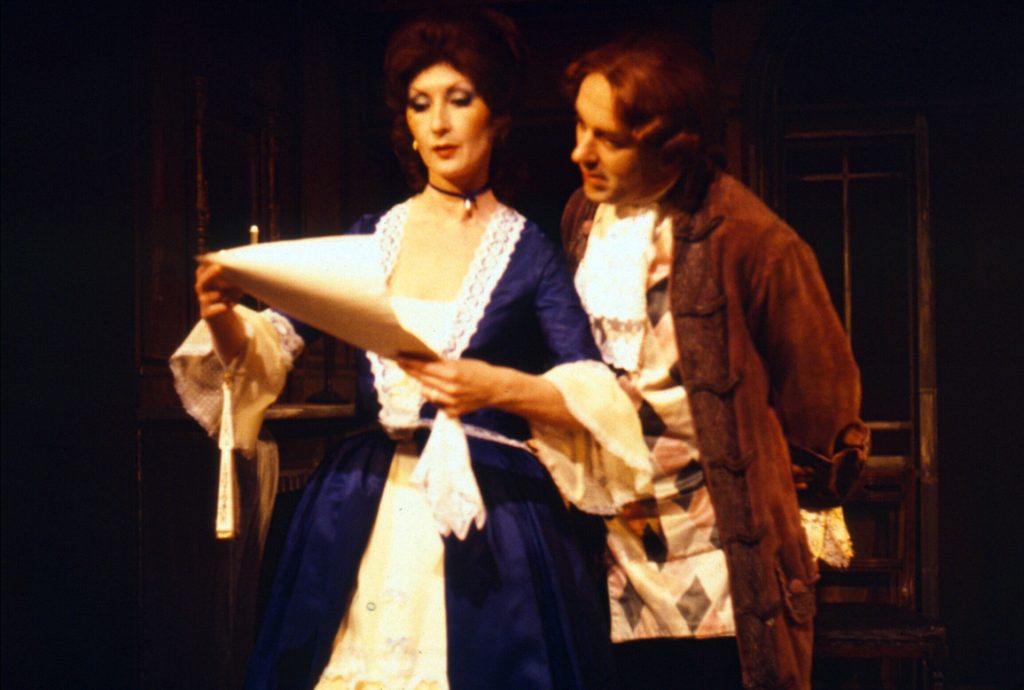
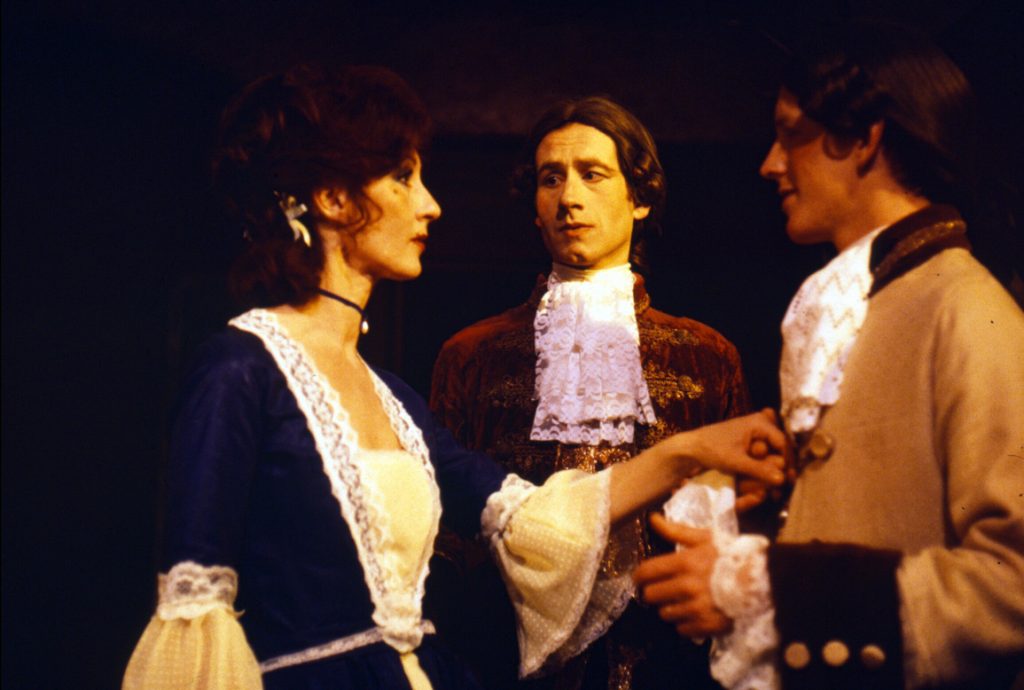
She Stoops to Conquer
>
She Stoops to Conquer – Gallery 1
03336663366
She Stoops to Conquer – Gallery 1
Barn Theatre Southwick Street Southwick BN42 4TE
Search for: